
Over the past 20 years, the inspection and testing of fasteners has become one of the major challenges in the fastener industry. Here, Massimo Agrati, CEO at Dimac Srl, looks at why it’s crucial for fastener companies to be investing in inspection as there continues to be an exponential increase in the automatic assembly of products.
For a long time many objects were assembled by hand. Now more and more of these are produced with advanced automatic assembly lines, which require perfect fasteners to guarantee the expected yield. The development of automation in assembly has prompted the redesign and re-engineering of products in order to be assembled efficiently with the new automatic lines.
Those improvements led to the development of special fasteners produced with new materials, and very complex shapes, and consequently boosted the evolution of treatments and finishing processes necessary to guarantee the functionality of the fixings and the final quality of the assembled product.
To keep up with the new production processes, and prevent the production of non-compliant fasteners, monitoring equipment on production machinery and surveillance systems of treatment lines have been introduced. New SPC control strategies and new ERP systems integrated with the production departments, together with predictive maintenance procedures, have been introduced in order to reduce the intervention time in the event of any process anomaly.
Despite the above mentioned progresses in the production departments, it is still impossible to produce fasteners with zero defects. This happens because the fasteners are more complex, the processes are more automated and the noncompliances to be detected are including much more critical features than before.
Thirty years ago the noncompliance to be detected on standard headed screws were much more simple – head diameter, recess depth, shank length, missing thread, etc. Today, the noncompliances on the same type of screw must include, for example, radius below the head, thread starting point, nicks and dents on the threaded shank 360°, head marking logo, coating stains, nicks and dents on any surface, missing heat treatment, cracks on the head, bending of the shank, overall socket shape, socket broken lobes and more.
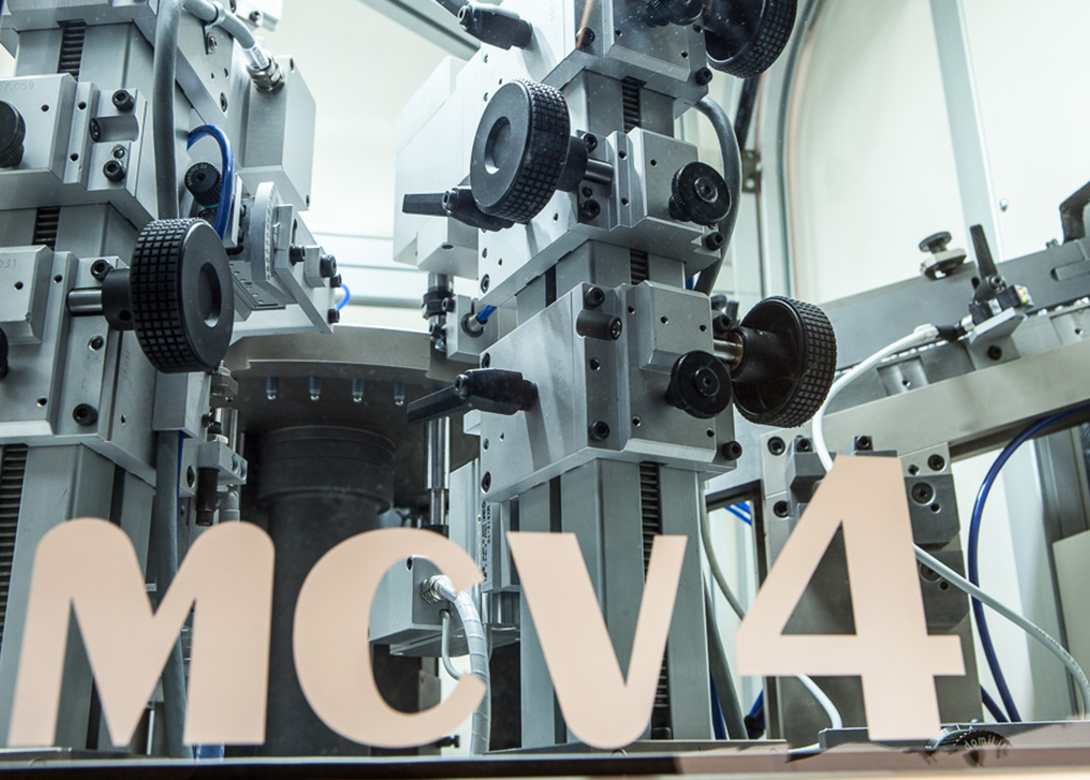
This means every project to produce a new type of fastener includes the final 100% inspection and sorting process with suitable machines. Every new production line is designed including the inspection machines, which are necessary to check the most important dimensional and functional features of the fastener together with its aesthetical aspect. Moreover, in the last four years the demand to perform NDT checks for cracks and hardness/heat treatment – with high output rates – has undergone a significant surge, which has led to most of the modern control machines offering eddy current stations as options for this type of verification. The eddy current technology has evolved a lot in this sense, the equipment and the probes to detect cracks and material quality have become very sensitive and the software processing algorithms very sophisticated but also very user-friendly.
With more than 20 years experience, and more than 1,000 machines installed around the world, Dimac Srl is challenged every day by fastener manufacturers to design and study custom machines for the sorting of a wide range of products for different markets – including automotive, aerospace, hydraulic, electronic, medical, appliances, furniture and more.
Fastener manufacturers require Dimac to build high performance 100% automatic inspection and sorting machines with adaptive control stations and a user-friendly ‘teach-in’ operator/machine interface. Dimac provides machines that can run unattended on a 24/7 basis with very complex inspection technologies, operated by unskilled personnel for the set-up.
Artificial Intelligence algorithms have been introduced in these machines, starting from 2019, to allow the inspection of surface defects, which only the human eye could detect and judge. Any cylindrical and flat surface of the product must be scanned with lasers and digital cameras to recognise any little deformity of the part.
The objective is to replace human manual sorting, which is still present in many production factories, in order to reduce the costs and obtain a more reliable inspection for several products that can’t be controlled with automatic procedures.
Last but not least, many manufacturing companies are developing Industry 4.0 projects, which involves every single department of the factory, including the inspection and sorting departments. Every machine in the production floor is connected to the company network and monitored through the MES and ERP in order to adjust the processes in ‘real time’.
Inspection machines can provide a big amount of data regarding every single batch of fasteners, including measured features, defects by attributes, and statistic calculations, which could be treated with the company ERP procedures – combined with AI algorithms – to trace and to know nearly everything about the quality of every single produced fastener.

Having spent a decade in the fastener industry experiencing every facet – from steel mills, fastener manufacturers, wholesalers, distributors, as well as machinery builders and plating + coating companies, Claire has developed an in-depth knowledge of all things fasteners.
Alongside visiting numerous companies, exhibitions and conferences around the world, Claire has also interviewed high profile figures – focusing on key topics impacting the sector and making sure readers stay up to date with the latest developments within the industry.


